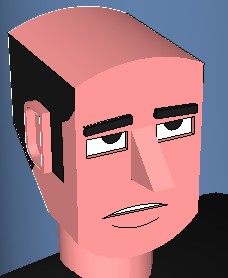
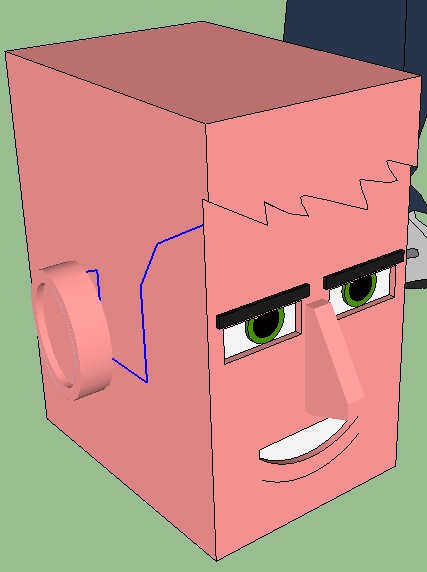
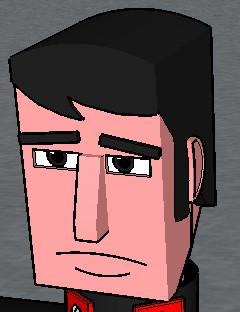
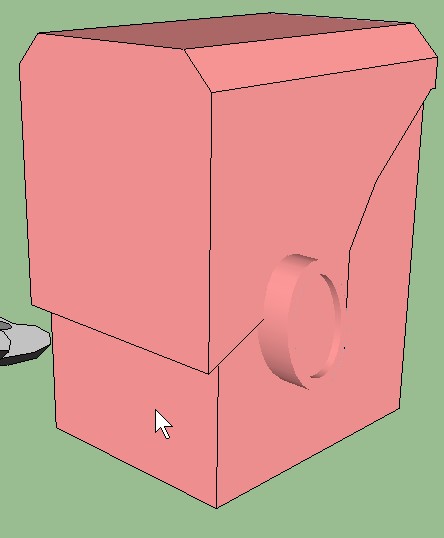
Starting with our sample head from the last lesson:
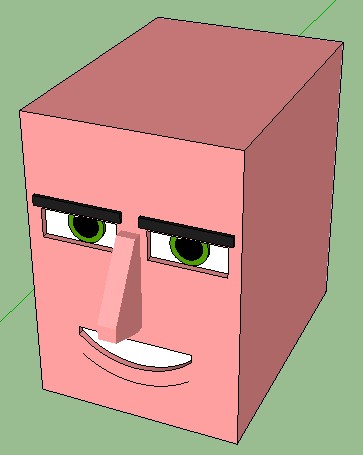
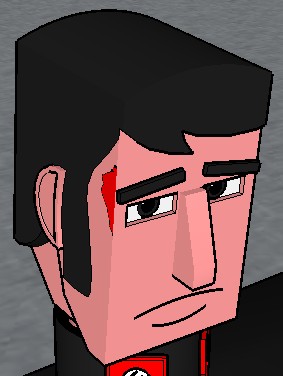
If, like me, you made the head just a little too low, then use the Push/Pull tool
to pull the top of the head a little higher:

...which if nothing else shows that nothing is set in concrete, every element can be changed at will or corrected with just a couple of clicks and moves.
Bald Men Are Sexy Too
A quick way to draw a bald head? Use the Arc toolto draw an arc across the forehead:

...as before, you just need to select a point on the left edge line, then a point on the right edge line, then move the cursor up or down to define the width of the arc, and then left-mouse-click (on the face) to fix the arc.
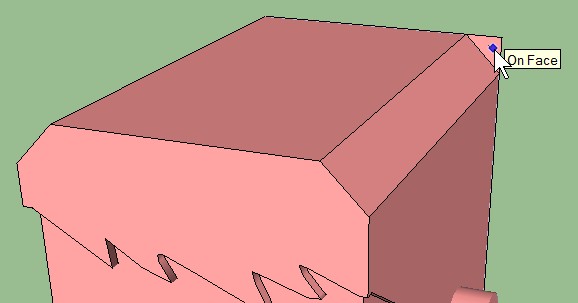
Use the Push/Pull tool
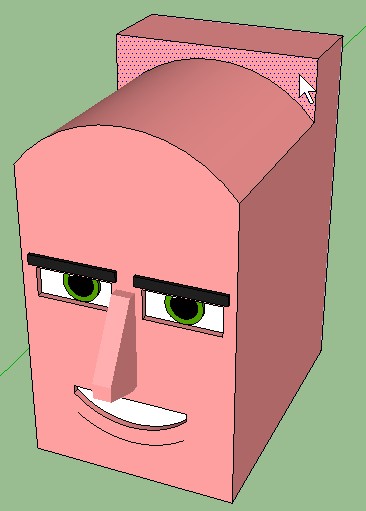
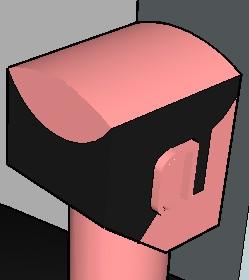
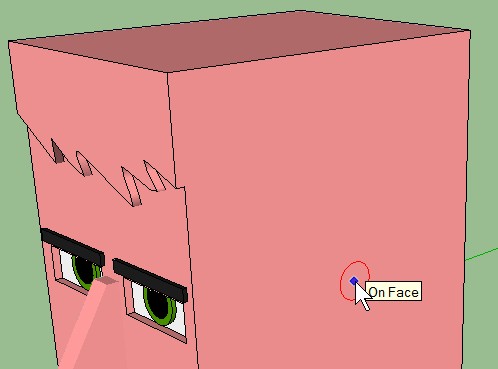
...When the push operation reaches the back of the head and the depth becomes zero, you'll see an "On Face" message:
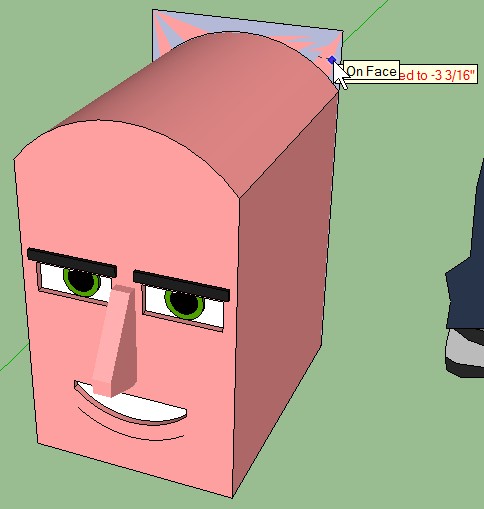
Just let go of the mouse button and the pushed surface, which has zero depth because it's aligned with the back of the head, should vanish:
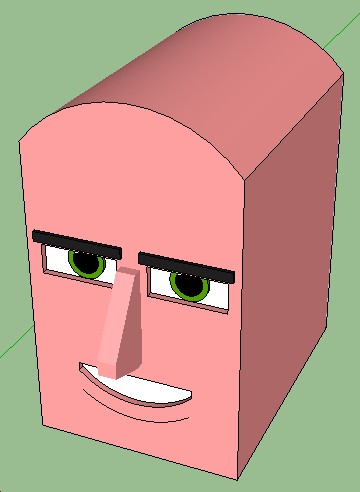
I've made a couple of bald characters with this:
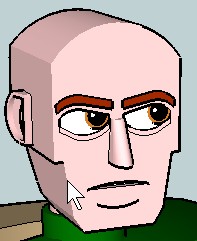

...and they've kinda worked as intended. The character on the left has "hair" areas defined by simple lines made by the Line and Arc tools, and colored using the Paint Bucket tool. We'll get to this stuff soon.
Freestyle Hair Part 1
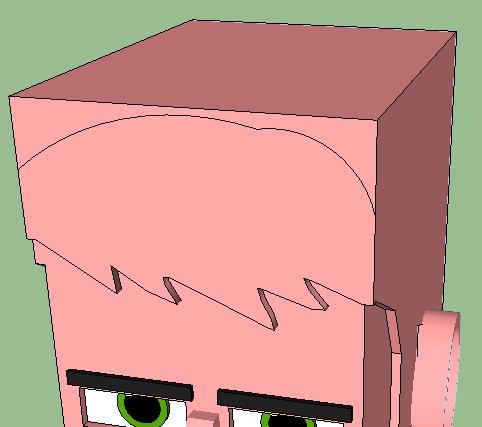
As an alternative to male pattern baldness, I'm going to add a bit of "hair" to the head instead.Select the Freehand tool

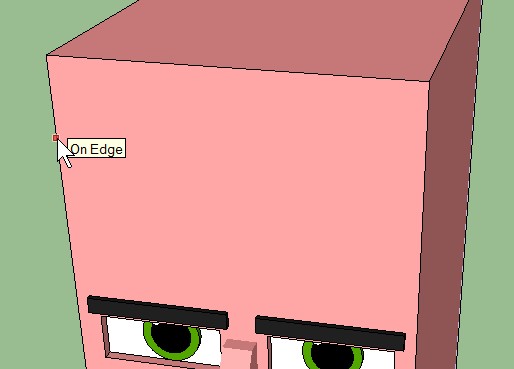
Select the left edge of the face, somewhere between the top of the head and the eyebrow:
Holding the left mouse button down, move the mouse across the forehead from left to right and up and down, making an irregular hair pattern:
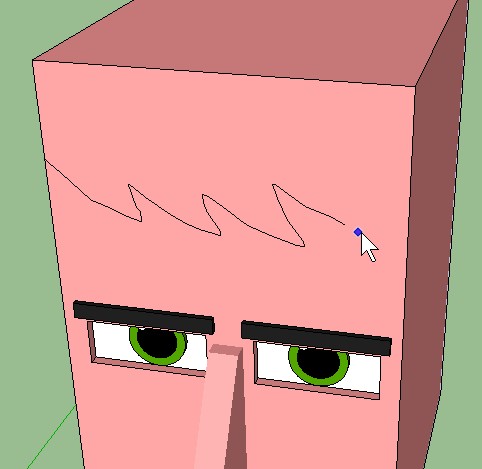
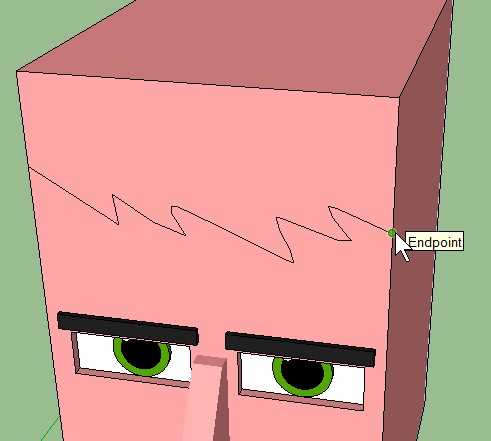
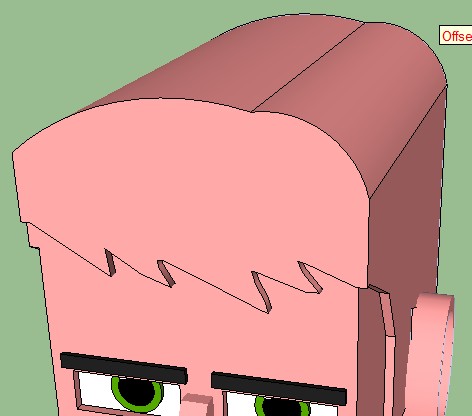
...and when you reach the right side edge and the cursor "finds" the edge, release the mouse button, and you should have a freehand line that creates "forehead hair":
This could take a bit of practice to develop a steady hand or get the look you're going for, try it as many times as you like, using Ctrl-Z to undo any botched effort so you can try again.
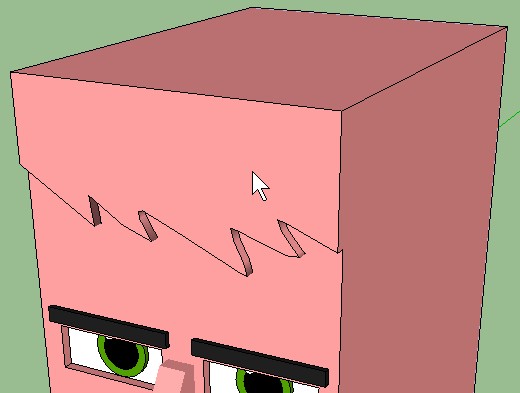
Use the Push/Pull tool
Before We Think About Sideburns... EARS
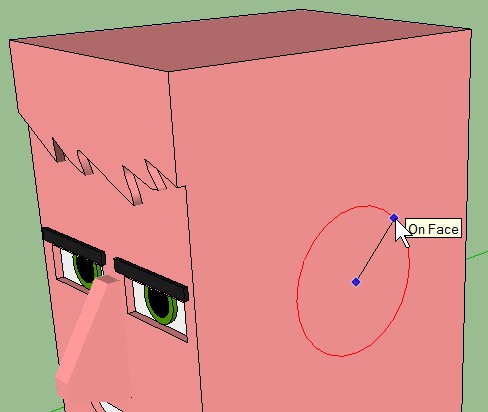
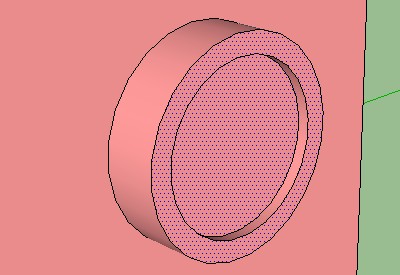
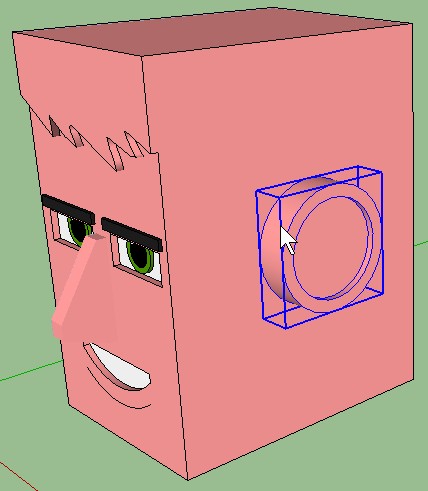
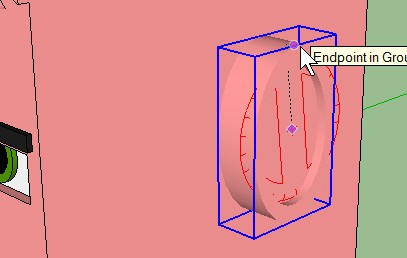
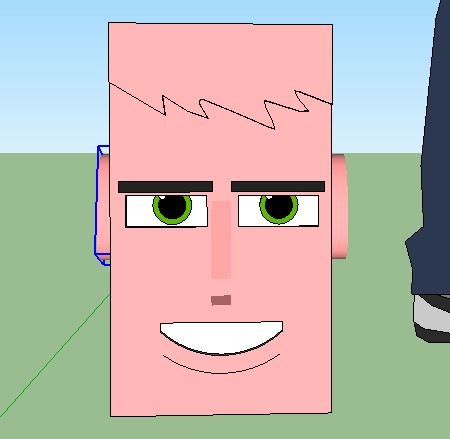
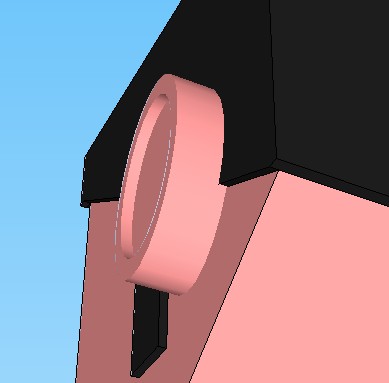
Yeah, probably better to add a couple of ears before adding side facial hair, since the placement of the ears will decide how the facial hair lines go. So regard this as a brief aside, after which we'll get right back onto hair!Use the Circle tool
to draw a circle on the side of the head:
With Circle, it's just a case of clicking anywhere to define the center, then moving the mouse pointer outward so the radius increases, then left-mouse-click on the face when it's the desired size. Ideally you're aiming for the height of an ear, in proportion to the rest of the head:
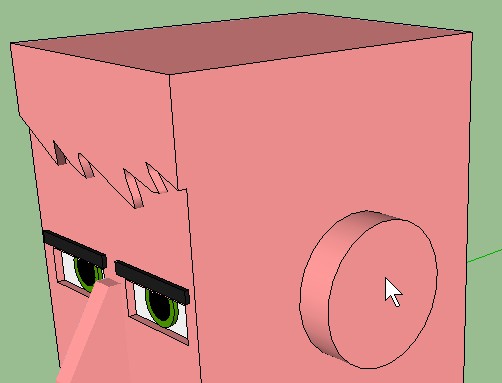
Use the Push/Pull tool
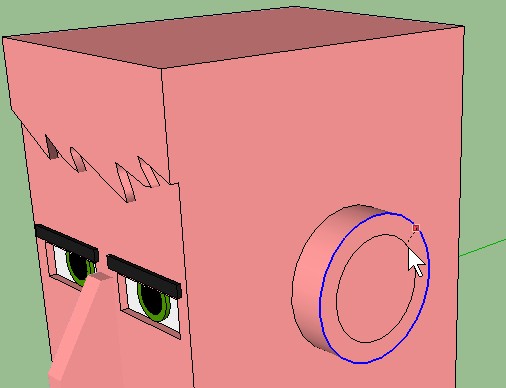
Use the Offset tool
to create a smaller circle inside the larger outer circle (select the outer circle rim first, highlighted blue in the example pic below, and move the mouse pointer inward to define the inner circle, then left-mouse-click on the face to fix the new circle):
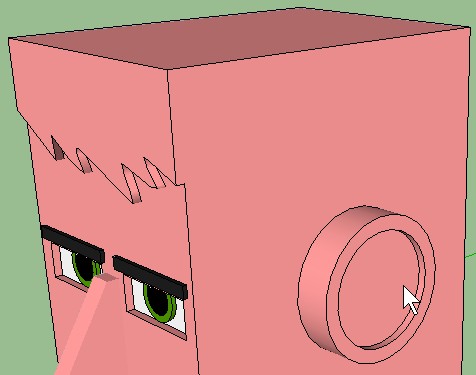
Use the Push/Pull tool
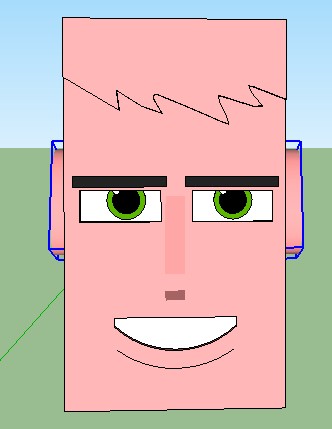
We're going to make the "ear" elements into a group, like we did for the eyes and eyebrows earlier.
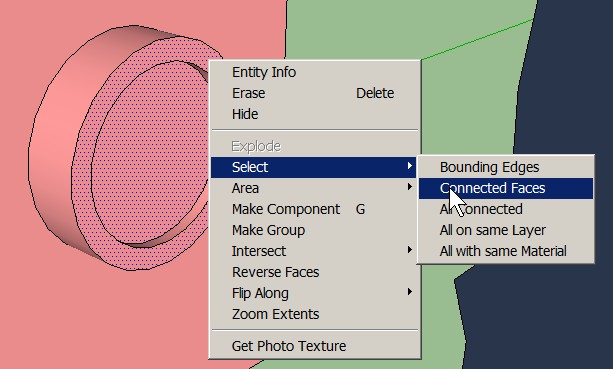
Hold down the Ctrl key and select the inner circle and the outer circle ring:
Right-click one of the selected faces and Select > Connected Faces:
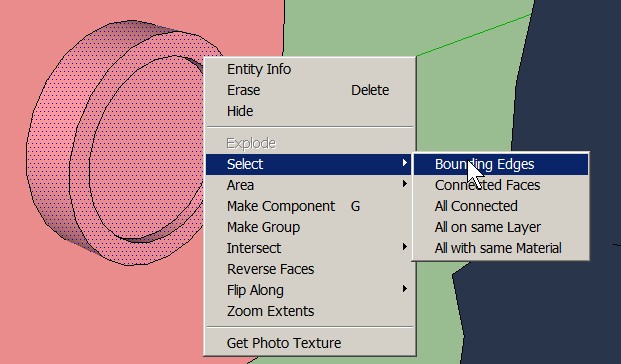
Right-click one of the selected faces and Select > Bounding Edges:
Right-click one of the selected faces and select Make Group:

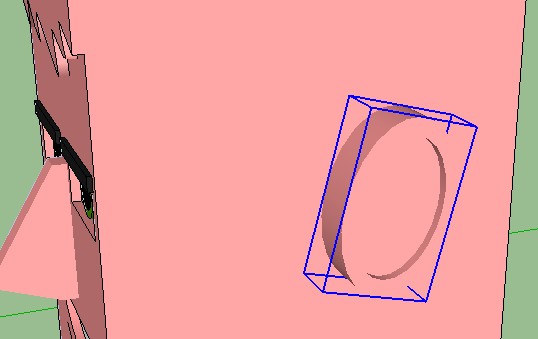
The ear elements are now a group:
Like we did with the nose elements previously, we're going to soften the ear element lines so they won't be so noticable.
Right-click on the ear group, and select Edit Group:

In group edit mode, right-click-select any of the lines, and then select Soften:
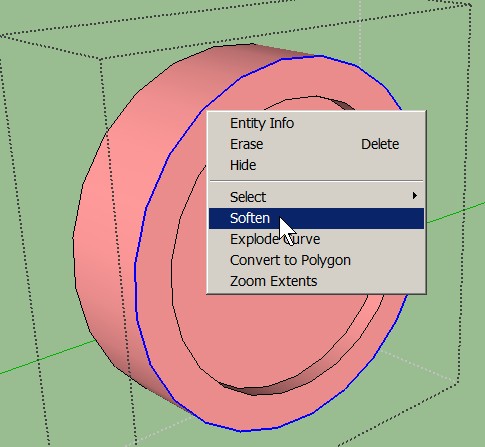
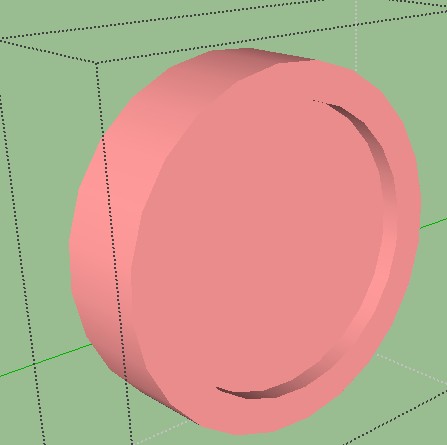
Repeat this for all the lines until they've all been softened (made invisible):
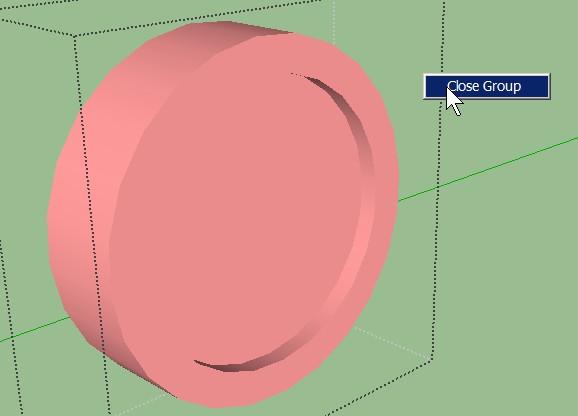
Right-click just outside the ear group elements, and select Close Group to exit group edit mode:
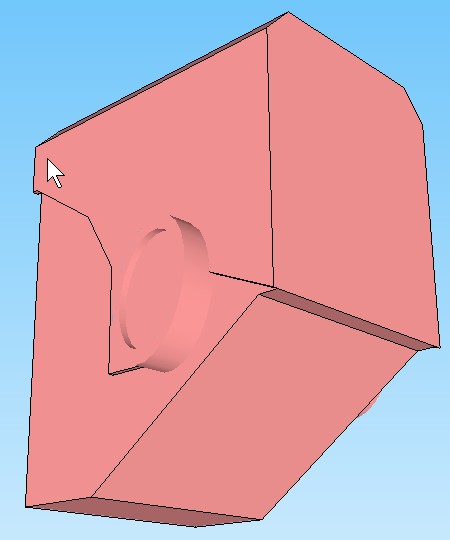
Now here's what the ear group looks like, cosmetically more pleasing without the construction lines:
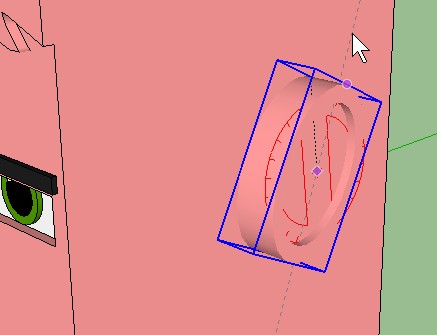
Now to scale the ear so it's slighly narrower and angled slightly, giving the impression of a more natural-looking ear.
Select the Scale tool

Select the ear group, which will highlight with the scale nodes (selectable points). Select the middle front node:
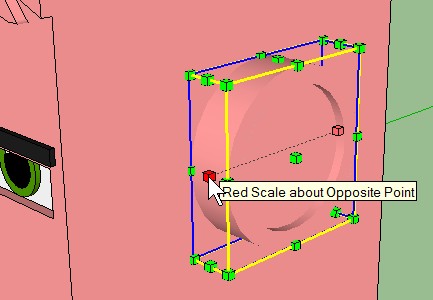
...and push it away so the ear is squished into a narrower shape:
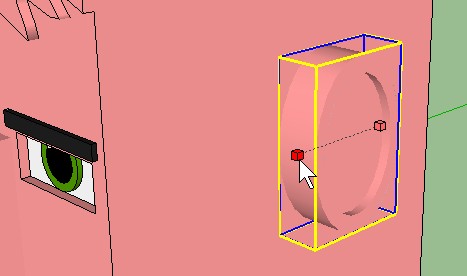
Left-mouse-click to stop scaling and fix the ear into its new size/position. Judge it by eye. Whatever you think works.
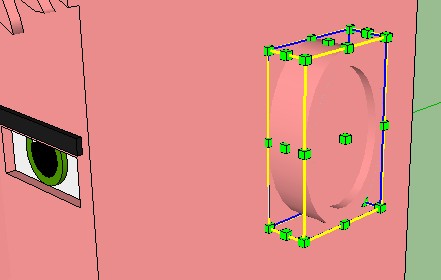
Select the Rotate tool

Select the center (roughly) of the ear group:
Select a point around the top of the ear:
Move the mouse pointer and the ear group will rotate around the center:
When the ear looks to be at a jaunty angle, slighly laid back, press the left mouse button point to complete the rotate and fix the ear in position:
Sure, that's a pretty basic-looking ear but it fools the eye thanks to softening the lines and angling the ear slightly.
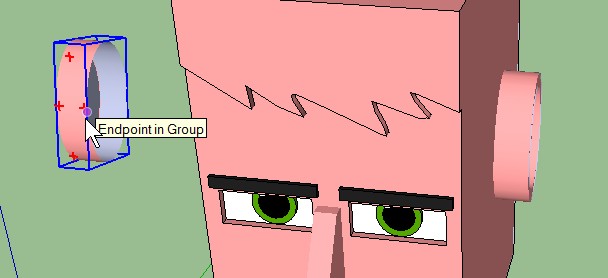
Now Make A Second Ear
...by copying the first and flipping it over. Here's how:If the ear isn't already selected, then select it:
Select the Move/Copy tool
and:
- Select the ear
- Tap the Ctrl key to switch on copy, the cursor will show a "+" sign to indicate copy is switched on.
- Tap the Right Arrow key (red X-axis)
- Move the mouse cursor left
A copy of the ear should follow the mouse cursor movement along the red X-axis. Move this copy so it's clear of the head:
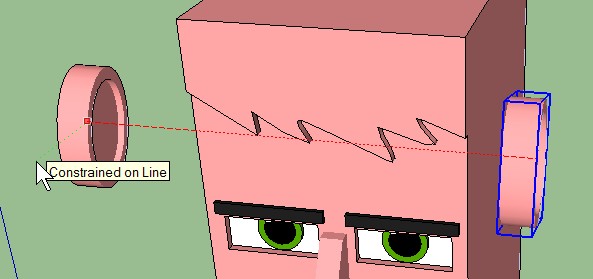
Left-mouse-click the copied ear to fix it into this new position, ready for what comes next:
Right-click on the copied ear if it isn't already selected/highlighted, and select Flip Along > Group's Blue:
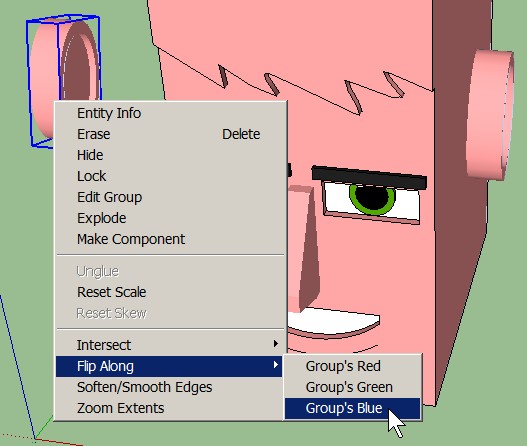
The ear is flipped so the inside is pointing back at the head:
Note: when I was figuring this stuff out, I expected the right way to flip the ear would be along the red axis. But when I tried this, it ended up flipping the wrong way, upside-down, or back to front. Weird. Eventually I found that flipping it along the group's blue axis worked. Big shrug, just saying, in case you wonder "Why the blue axis?" Or if you know the answer, do tell! Now to move the second ear onto the other side of the head.
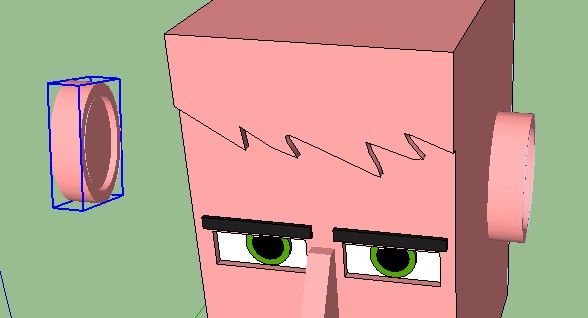
Select the edge of the copied ear that's nearest to the head:
Tap the Right Arrow key (red X-axis)
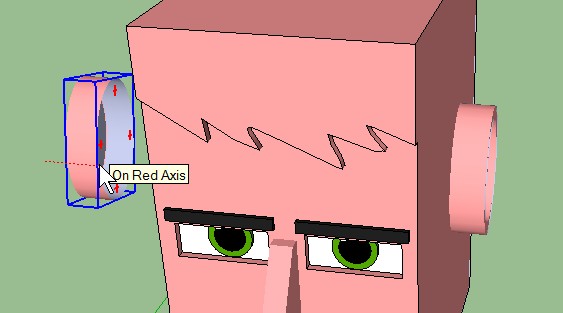
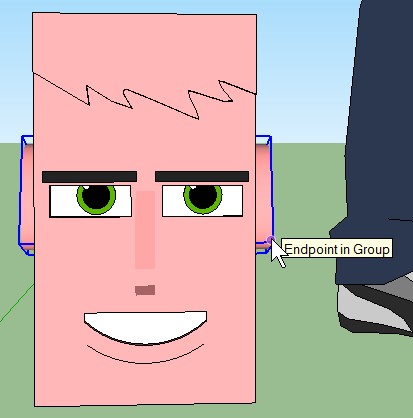
Move the mouse cursor right along the red X-axis until it makes contact with the edge/side of the head -- and left-mouse-click the edge to fix the ear to the side of the head.
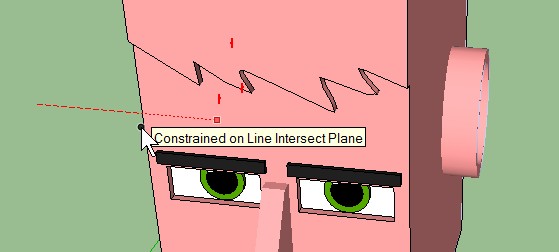
If we rotate the head and look (by holding down the mouse scrollwheel and moving the mouse to orbit the head), there's the second ear, fixed onto the side of the head:
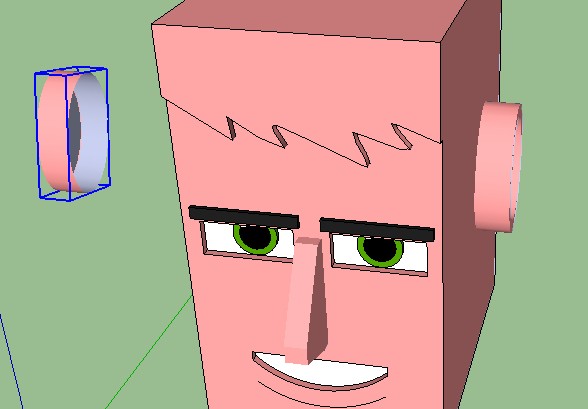
From the front, the two ears look like this:
...which actually looks slightly too high to me, since (on humans) the top of the ear usually lines up with the eyebrow, roughly speaking.
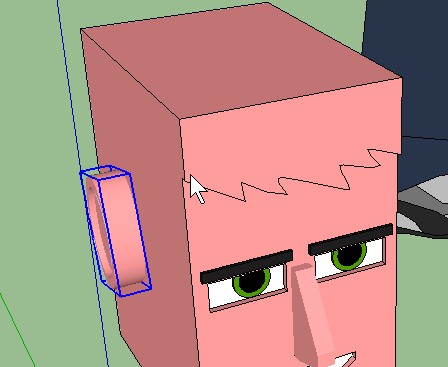
No worries, bear with me, let's just move the ears down a tad:
Hold down the Ctrl key and select both ears:
Select the Move/Copy tool
Select one of the ears:
Tap the Up Arrow key (blue Z-axis)
Move the mouse cursor up and down to elevate or lower the ears until they're in the correct position.
When the ears look right, left-mouse-click on the ear to fix them into the new position.
Now here's how they look in relation to the eyebrows; more level, I think:
And that's a basic pair of ears. Just like the eyes and eyebrows, you make one, then make a copy.
Freestyle Hair Part 2
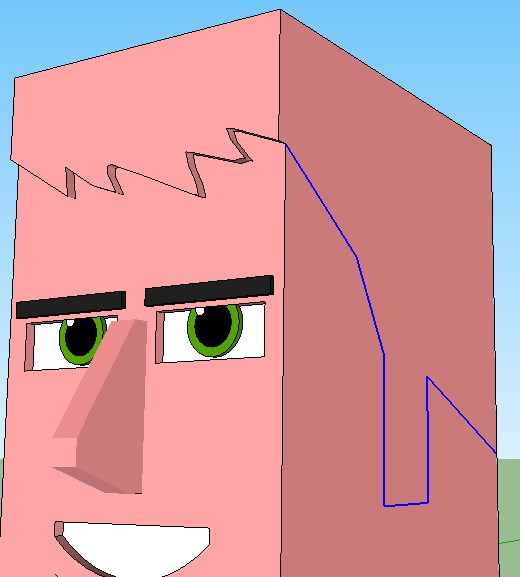
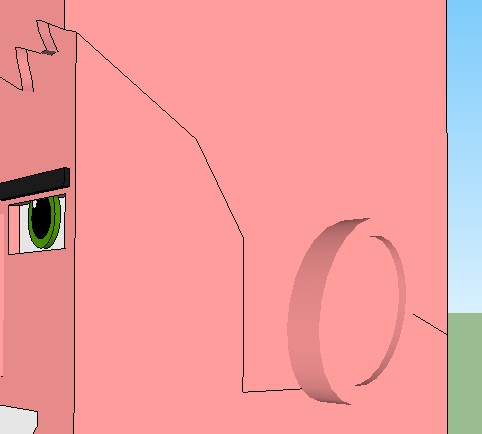
OK, that's the ears, so let's get back to giving this guy some hair before he gets too old.Use the Line tool
to draw a side profile that follows the hairline, if that makes sense.

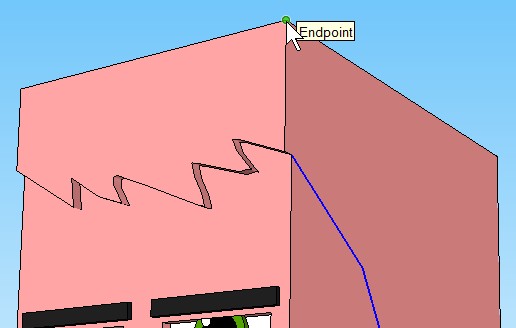
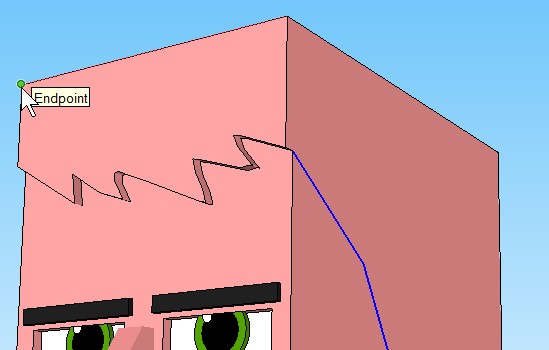
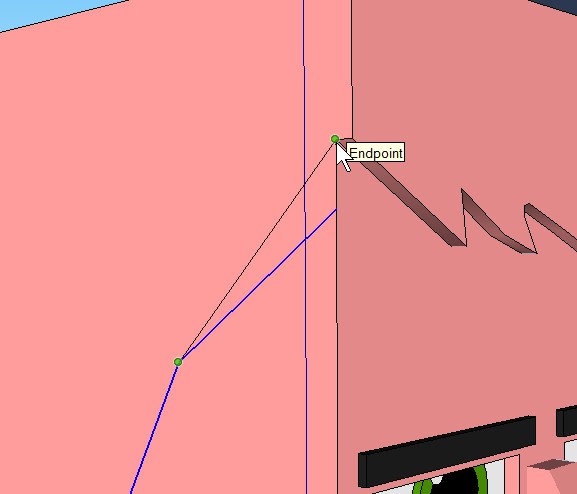
Select the point where the forehead hair left the face...

...then select a lower point, further back towards the ear... think of this as the area of hair covering the temple...
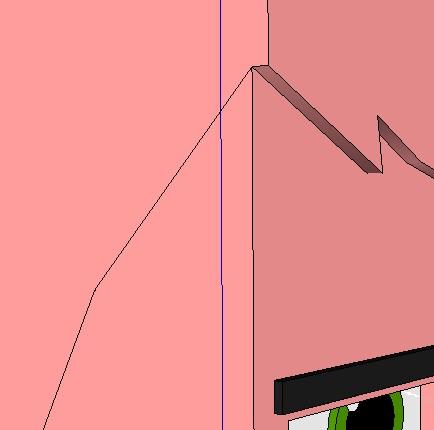
...continue downward and back slightly, select-click to fix this line to the face...

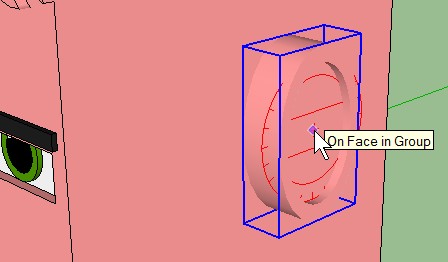
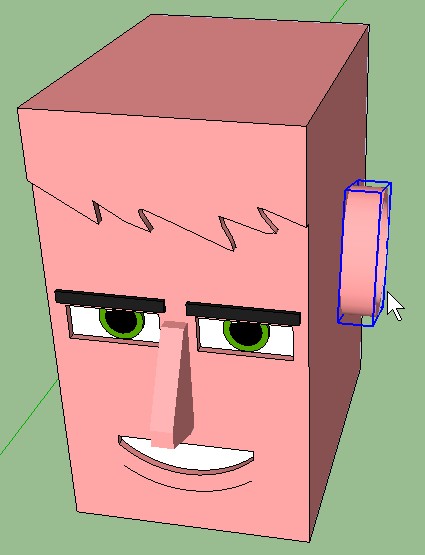
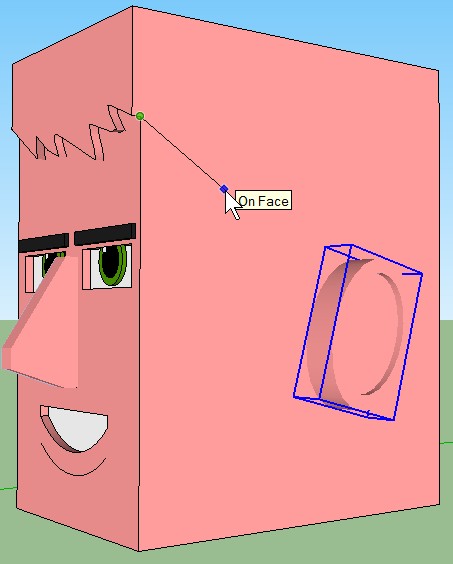
At this point, we're going to be drawing into the area currently occupied by the ear. This could cause problems when trying to select the face. Easy solution: hide the ear!
Note: always make sure SketchUp says "On Face" before you left-mouse-click to fix a line on the surface. Sometimes SketchUp helpfully assumes you're drawing out on another axis and while a line looks OK, you look from another angle and discover it's shot off along the red X-axis or similar blooper. (No biggie, just Ctrl-Z to undo and try again.) But this can simply be avoided by making sure you're adding the line "On Face" rather than making SketchUp guess. Right-click on the ear group and select: Hide
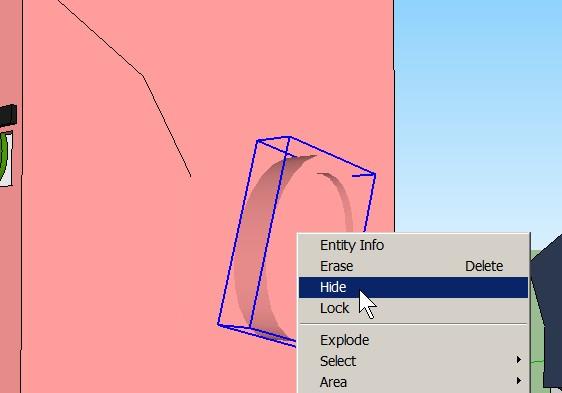
The ear vanishes! It's still there, just hidden. We'll bring it back after we finish drawing the hair outline.
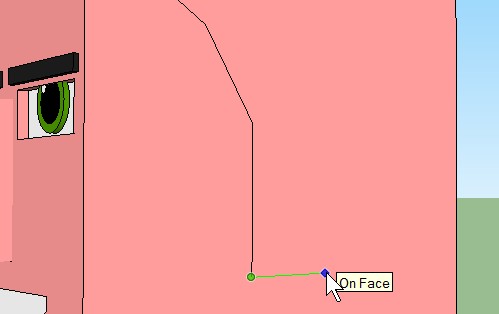
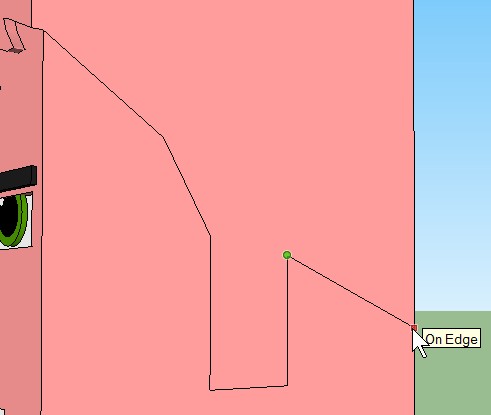
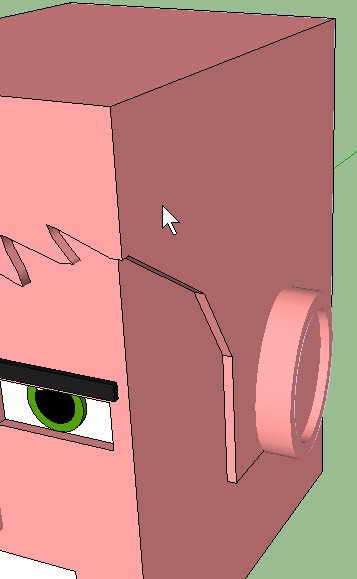
Select the end point of the last line drawn, and bring it down to continue the sideburn, left-mouse-click to fix the line to the face.
Now bring the next line back a little, drawing the bottom of the sideburn:
Finish by adding lines to complete the side hair outline, ending up by selecting the edge line at the back of the head:
That's one side done -- what about the other side of the head? We could turn the head and draw lines manually, but it's probably easier just to copy the lines on this side over to the other side, just like we did with the second ear.
Select the lines that make up the side hair outline. Hold down the Ctrl key while selecting so multiple elements can be selected:
Note: If you happen to select a wrong element, e.g. the side surface rather than a line (like I just did, clumsy fingers!) you can either start over by selecting the first line and go again... or you can re-select the "wrong" element while holding down the Shift key, to de-select it. Other selected elements will still be selected. So you hold down Ctrl to select multiple elements, and you hold down Shift to de-select an already-selected element. Select the Move/Copy tool
Select the top right corner point:
Tap the Ctrl key to switch on copy. The cursor will show a "+" sign to indicate copy is switched on.
Move the cursor left and select the top left corner point:
You didn't see it happen because you're looking at the wrong side of the head, but the lines you selected were just copied to the other side of the head!
Pivot the head around using the mouse scrollwheel so you can see the other side, and the copied lines:
The side hair outline on this side doesn't match up the freehand-drawn forehead hairline, that's easily fixed via a quick touch-up, if necessary.
The above example used relative points to aid in the copying process. I could also have tapped the Right Arrow key (red X-axis) after I tapped the Ctrl key, just to make sure the copy took place along the red X-axis, but selecting the relative top right and top left corner points let SketchUp know where I was copying from and to. Use the Line tool
...and then delete the unwanted line with the Eraser tool:

Lest we forget, let's make the hidden ear visible again! Select text menu Edit > Unhide > Last:
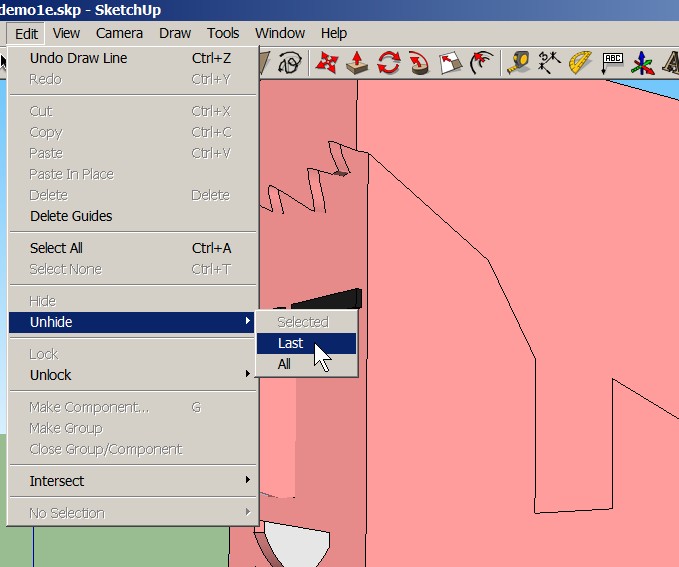
And the ear returns:
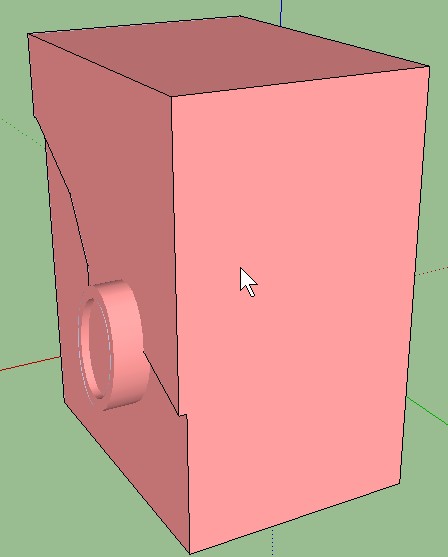
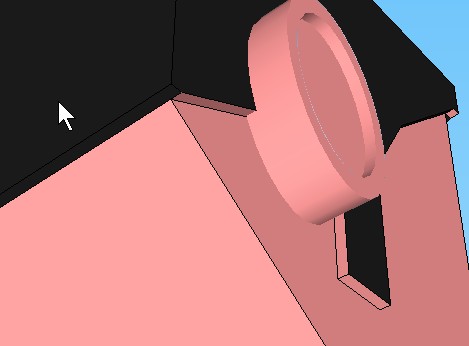
Next step, use the Push/Pull tool
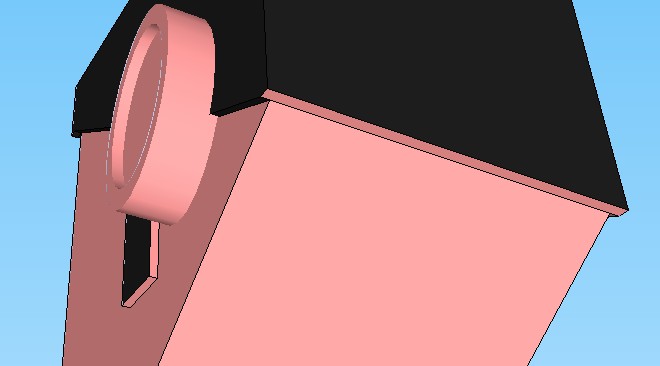
Just a quick snapshot from the rear to show how the side profile looks... note how the pulled face comes out beyond the ear group, giving the illusion of growing around the ear:
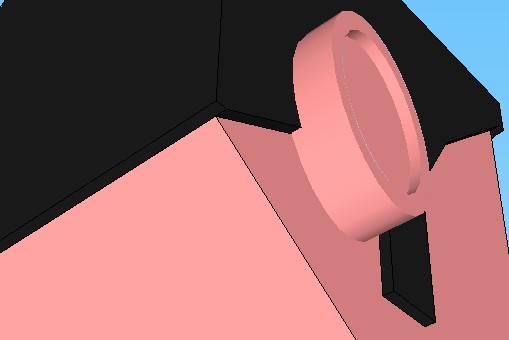
Do the same on the other side of the head, pull the side hair profile outward 1/4" so the "hair" grows around the "ear" on that side, too.
No pic needed -- you already know how to do this using the Push/Pull tool.

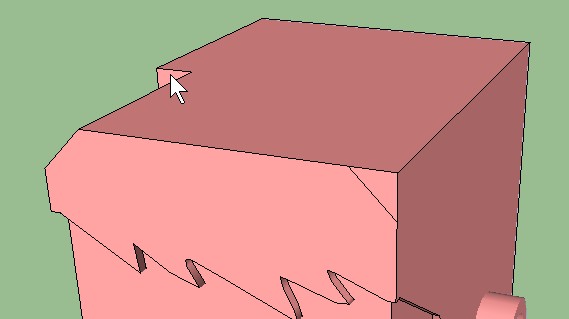
Top Of Head Shape
There are 2 basic ways to shape the top of the head.For the first, as you saw in the bald head examples above, simply draw an arc across the forehead, then push the surface above the arc backward until it reaches the rear of the head:
This produces a head shape that looks reasonable from most angles, suggesting the curved skull:
Another variation, 2 arcs give a more interesting hair shape, perhaps:
Another variation -- the one I'm going for in this example -- is a head with beveled edges that take away the basic square shape when viewed from various angles:
(Adding color and cosmetic stuff comes soon, right now we're just playing with the head shape.)
Use the Line tool
I drew these lines by selecting the left side edge line, and moving the cursor up to the top edge. When a line takes a 45 degree angle, SketchUp helpfully colors it pink as a drawing guide. I selected the top edge to create the first angled line on the left corner.
As I moved the cursor across to the right side edge to draw the second line, SketchUp displayed a dotted red line across the forehead to help me line up geometry, assuming I might want elements to be on the same axis (red X-axis). I selected the right side edge line, then moved the cursor up to the top edge line, and when the line I was drawing turned pink (to show it's at 45 degrees), I selected the top edge line.
Which gave me 45 degree lines at each corner:
Use the Push/Pull tool
Which leaves us with:
Use the Line tool
Use the Push/Pull tool
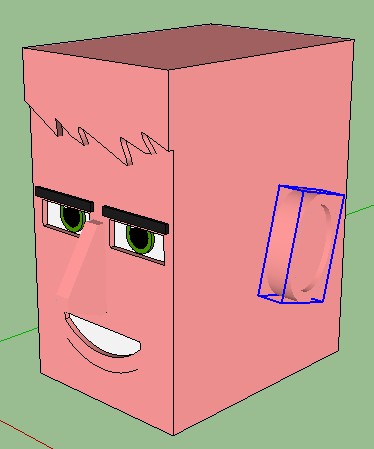
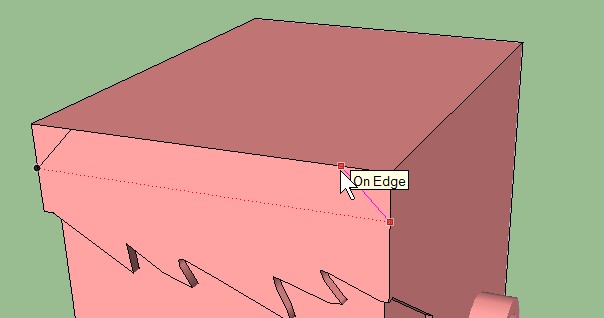
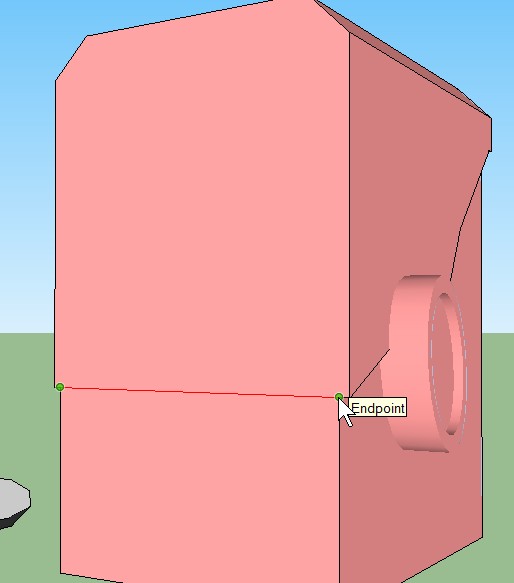
Turn the head around to get a better look at the side/jawline area...
Use the Line tool
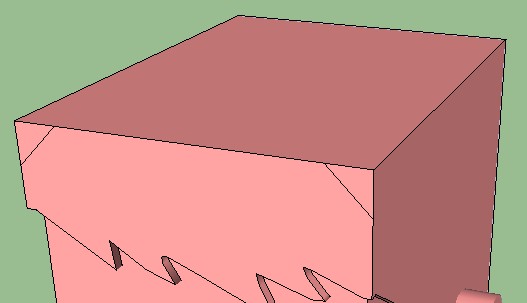
...and from there to the back edge:
Use the Push/Pull tool
Hmm, no, wait, that looks kinda odd...

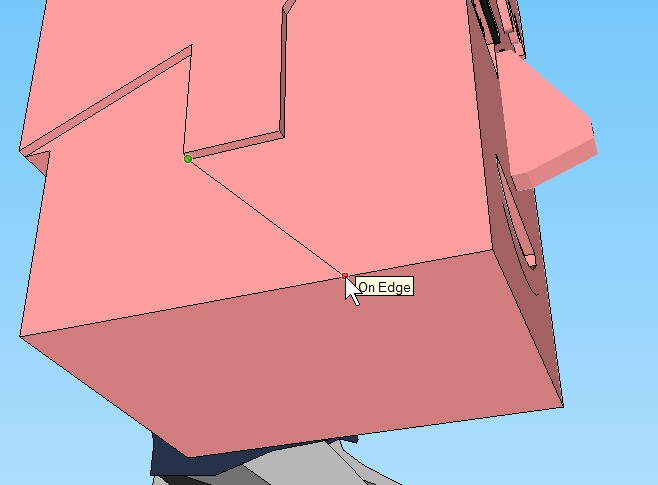
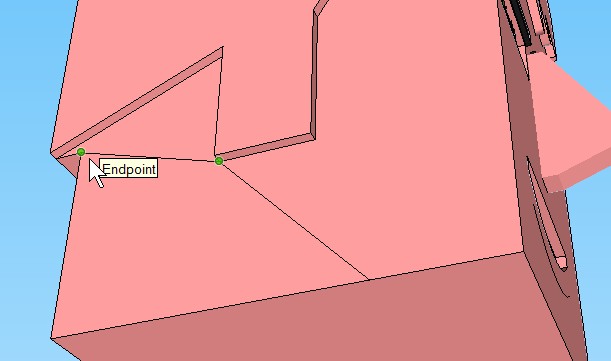
Let's undo those changes via Ctrl-Z and go back to using the Line tool to draw another shape at the lower back of the head!
Use the Line tool
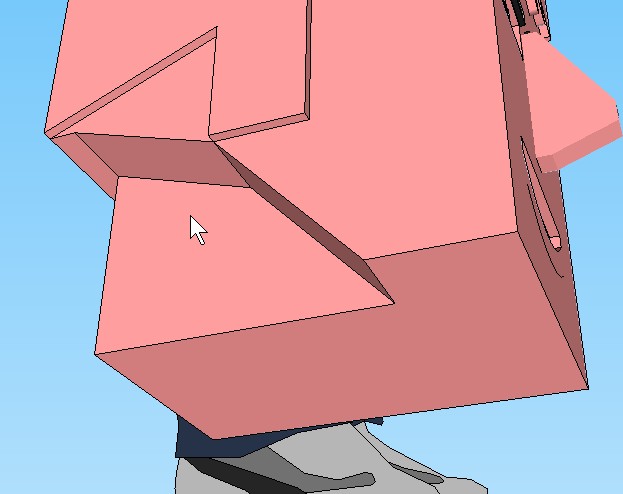
Use the Push/Pull tool
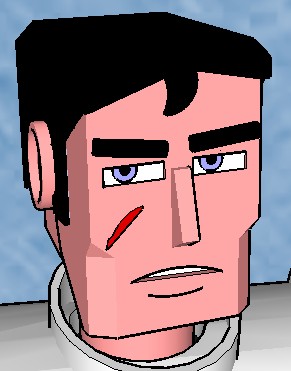
Looked at from another angle, that looks neater than the first attempt:

I'm not saying it's physically accurate -- if you trace your own jawline with your finger, it curves up to just beneath the ear, then the bottom of the skull continues to the back of the head, so maybe the first example above was better, anatomically -- but the second version looks as if it will view better from multiple angles once we give it a neck to sit on (coming soon).
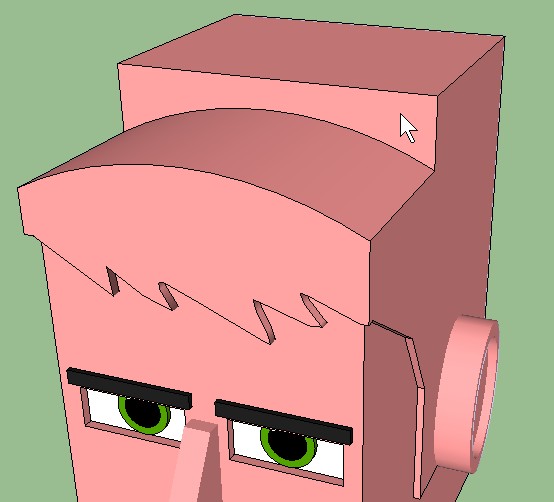
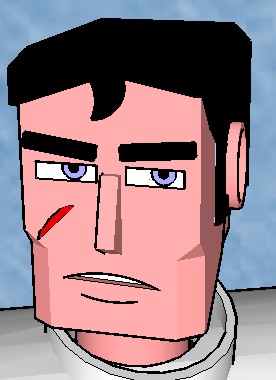
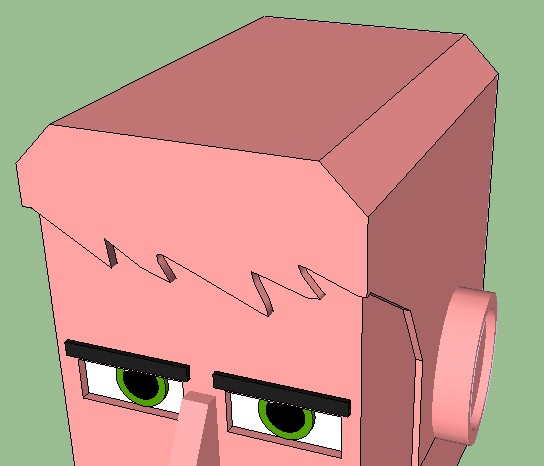
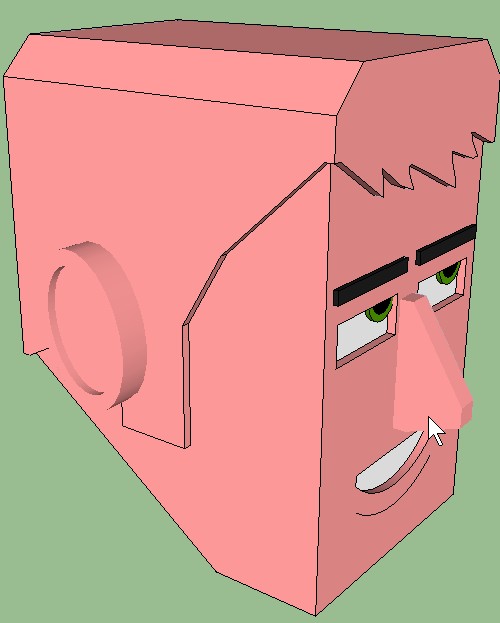
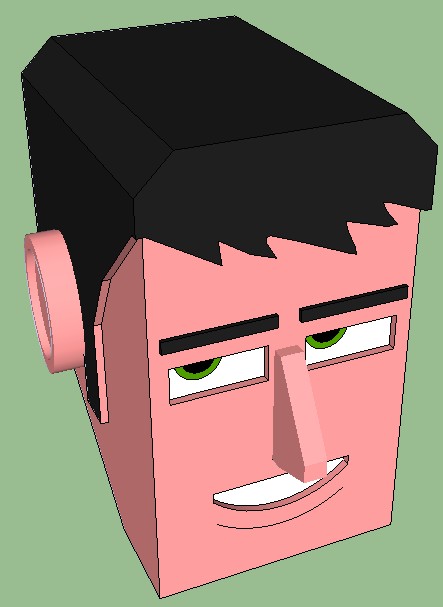
And with that, the example head is more or less complete:

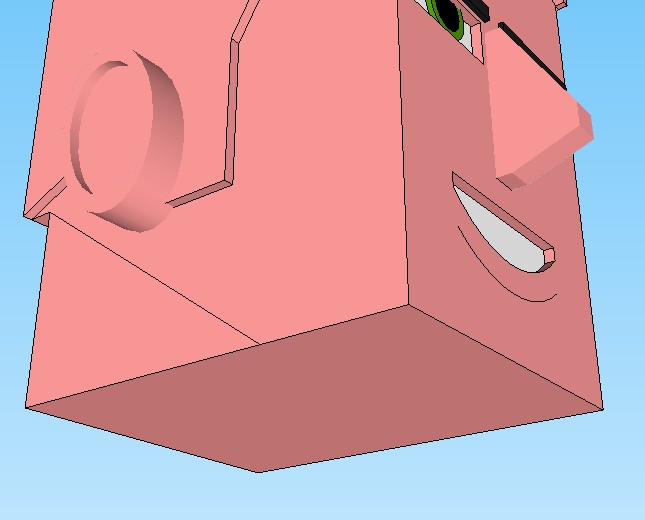
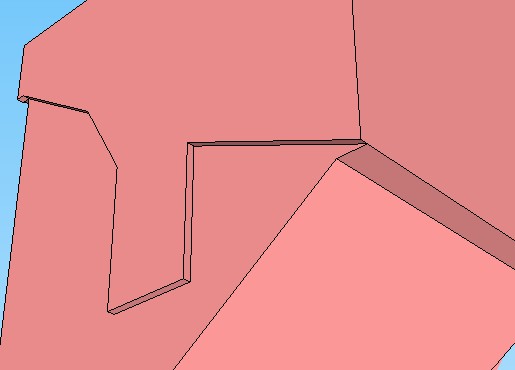
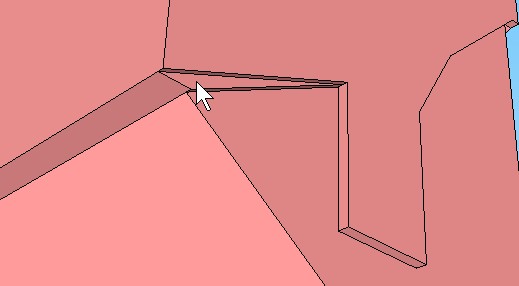
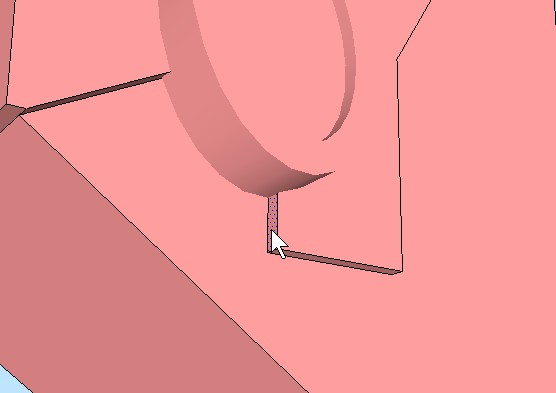
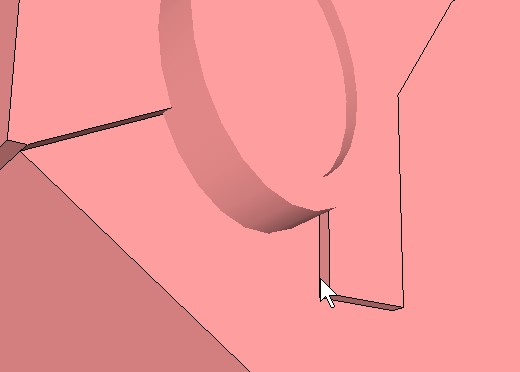
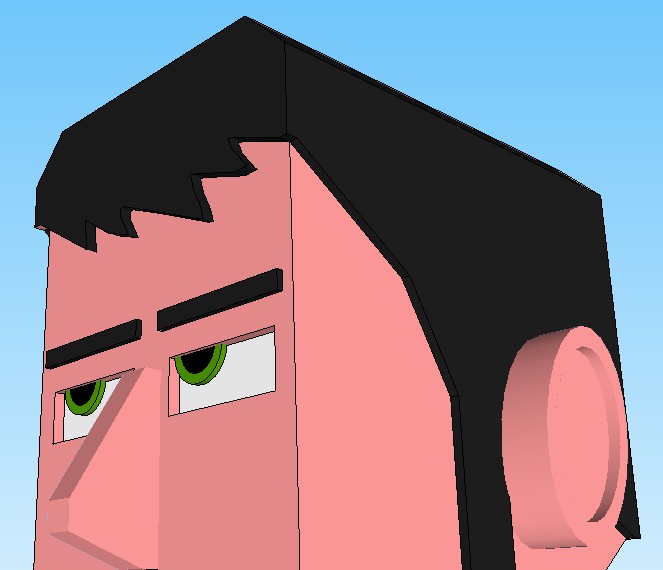
Except for... one little thing that's buggin' me... see the bit at the back where the bottom of the hair meets the neck? That could be neater:
So as an edit exercise, how about if I adjust the shape of the hairline.
First, right-click on the ear group and select Hide to make the ear invisible.
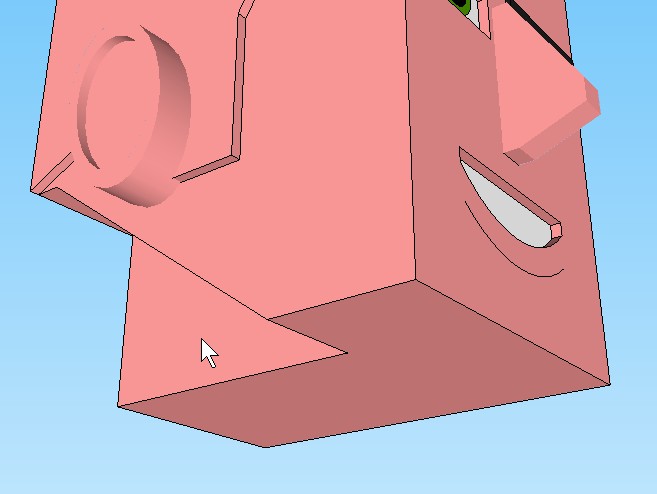
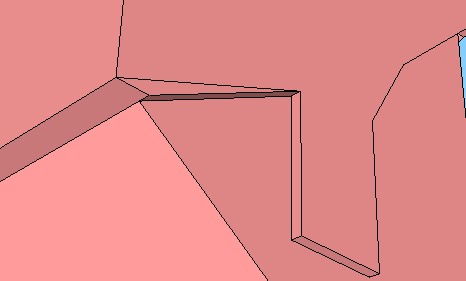
Use the Line tool

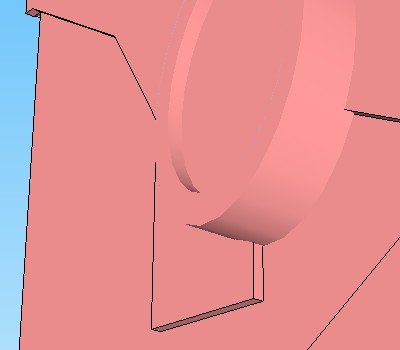
Then use the Push/Pull tool
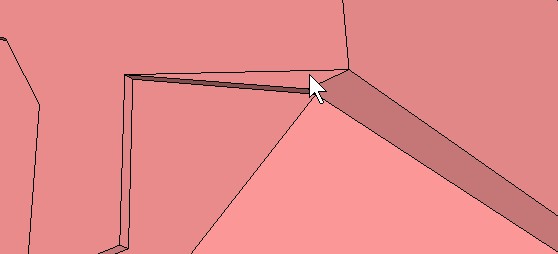
And then use the Eraser tool

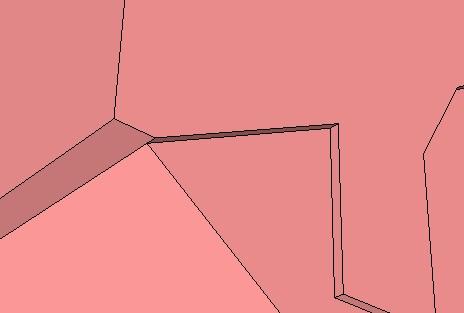
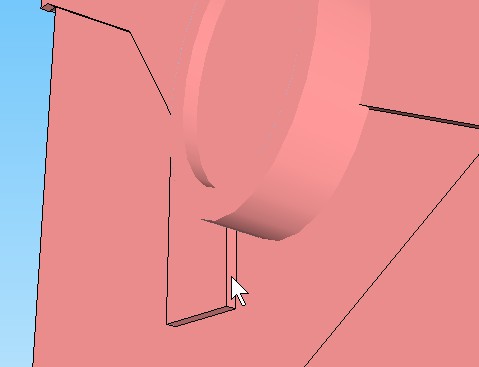
Lastly, select text menu Edit > Unhide > Last to make the ear visible again.
Aaaand... do the same edit on the other side:
Right-click on the ear group and select Hide to make the ear invisible.
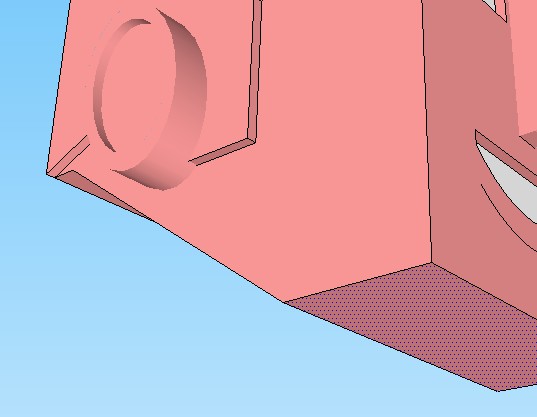
Draw a line between the top of the sideburn and the back of the head:
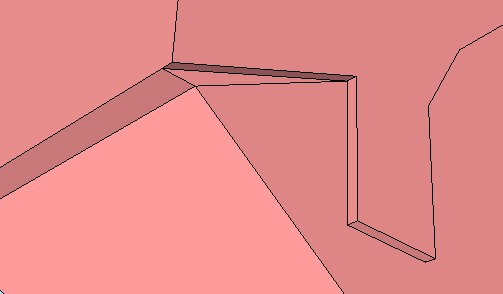
Pull the triangle outward so it's flush with the side of the hair:
Erase the unwanted original line:
Select text menu Edit > Unhide > Last to make the ear visible again.
Another picky little observation -- I've drawn the sideburns slighly too wide, so they cut into the ears unnaturally.
A simple edit:
Use the Push/Pull tool
...so it becomes closer to the front side of the ear, making the sideburn appear narrower:
And again for the other sideburn on the opposite side of the head:
...so it also becomes closer to the front side of the ear:
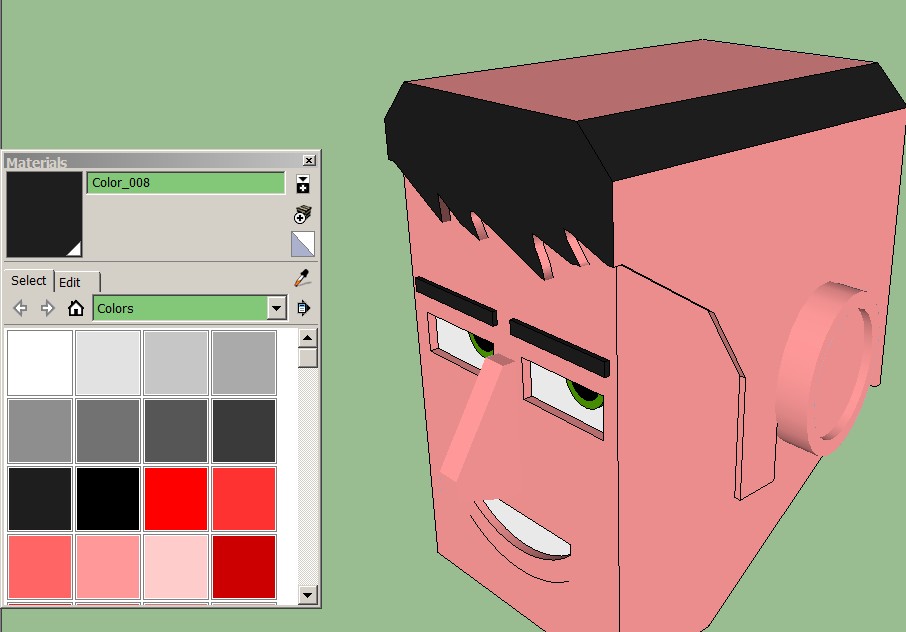
Color The Hair
With those picky cosmetic edits out of the way, we can advance to the next stage, coloring the character's hair.Select the Paint Bucket tool
and pick the color of your choice (I usually match eyebrow color with hair color, unless it's an unusual character or the contrast is done for striking effect, e.g. white hair with black eyebrows).
Start painting the hair areas:
Note, you can't use Ctrl-paint-multiple-faces for this operation, the entire head including the face would turn the same color.
Continue around the head until you paint all the hair elements, including the inner edges around the sideburns and the forehead hair:

SAVE THE MODEL.
Next step: coming soon!Intro | Heads | Eyes | Eyebrows | Copying Eyes & Eyebrows | Noses | Mouths | Hair & Ears
The Body